
Most people who own old flower pots/boxes are more than happy to invest in new ones every few years. We have owned our faithful planter boxes for six (6) years, which is probably too long, but when you consider how cheap I am it really does make sense.

These guys have seen quite a bit of dust, snow, rain, and sun in the last six years, and it is quite apparent. I think I paid about $15-$20 each for them back in the day, and I have been casually pricing new ones for this summer. The best price I could find was $30 each for similar color and quality. I found some cheaper, smaller, greener ones at WalMart, and these were more in my price range at $12 each.
However, I love the texture of the planters I have, and the classic terra cotta color matches our patio vibe. Also, I am getting older, which means I feel more and more uncomfortable with change as every year passes. My old pots are still structurally sound, so why not go the cheaper, comfortable, non-change route and restore what we already have to its old glory? Yeah, I will do that instead.
Materials needed:
- Old flower pots or planter boxes.
- Spray paint that is capable of binding to plastic. I used Rust-oleum.
- Safety equipment (because I'm overly cautious when it comes to chemical things).
- A cat companion.

1. First, wash the old boxes - inside and out - using a gentle, environmentally friendly soap.
2. Next, let the pots air dry (maybe while doing some weeding/reading).
3. Apply safety gloves, goggles, and a face mask to minimize exposure to paint fumes.
4. Stuff inside of the pots with newspaper to minimize the exposure of paint to the plants which will soon reside in the cozy old pots.
5. Shake the spray paint well and apply according to the directions on the can. Make sure to do multiple light coats, rather than one thick coat, to avoid dripping and uneven coverage.
6. Allow the paint to dry, and make sure you let it bind to the surface thoroughly - it can take up to a week for the spray paint to bind to plastic surfaces.

7. After the paint has dried (I waited a week), plant your flowers and enjoy!
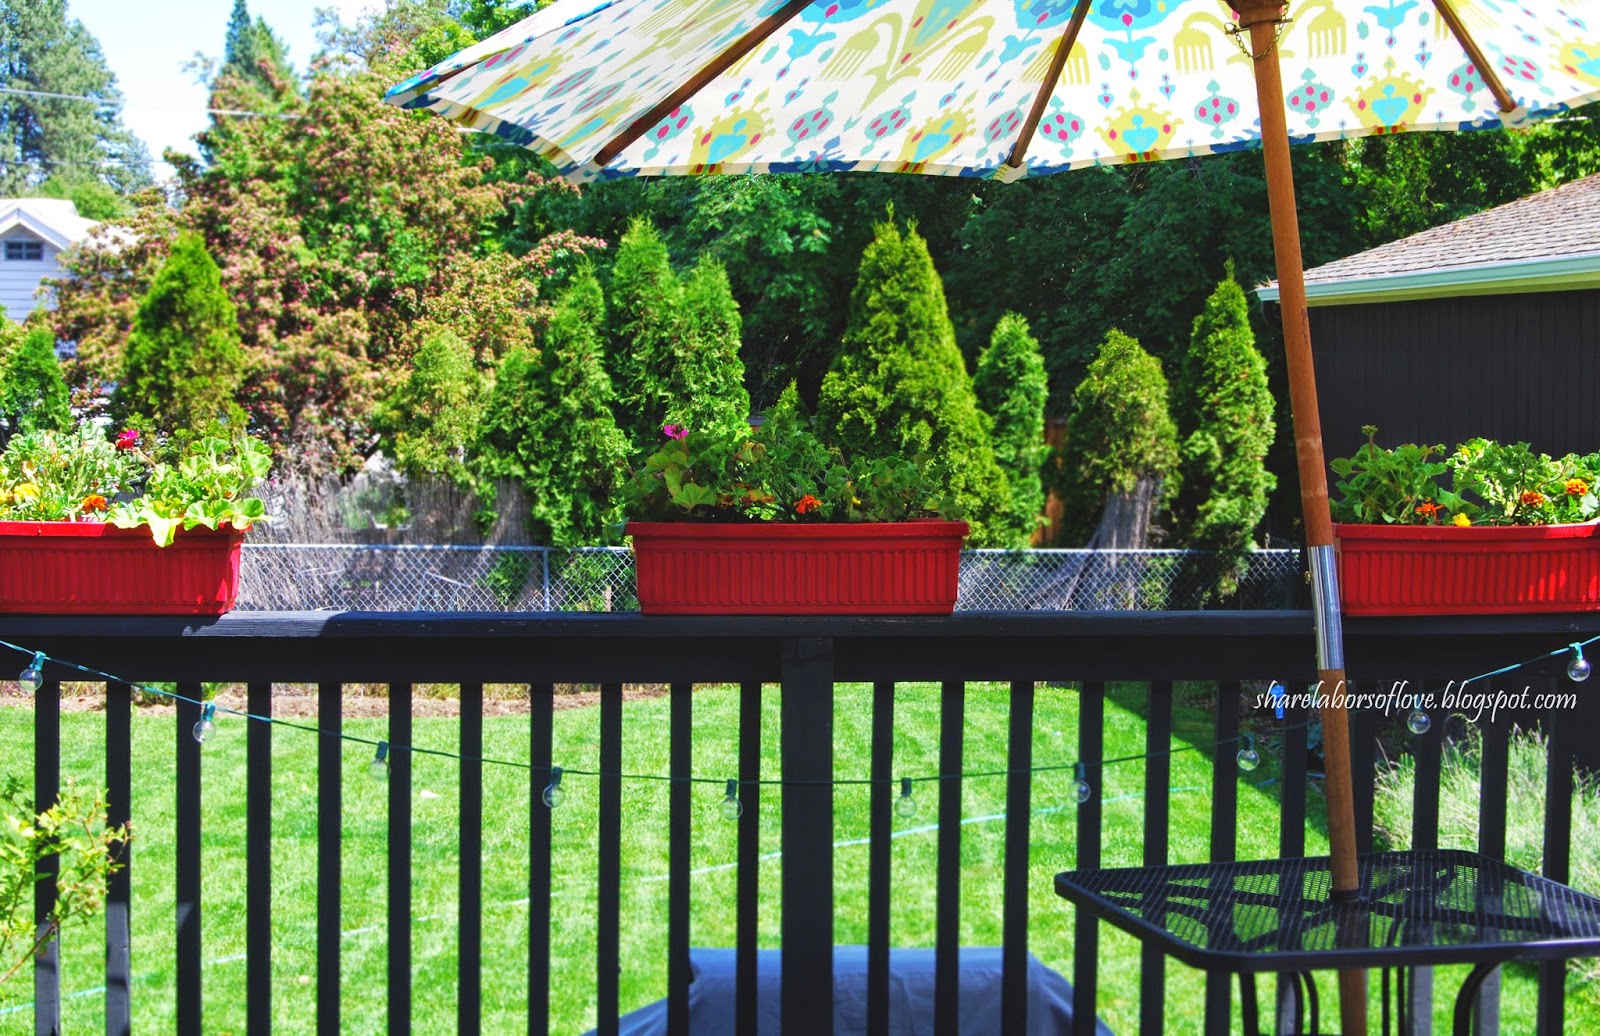

Compared to the picture from last summer (below) you can really see the difference in color. And of course the old image only reflects the best side of the 3 pots, because the internet is only for pretty things and I felt self conscious showing the other angles of the pots. I cannot wait to share more pictures of the updated project when the geraniums decide to emerge. Until then, the above photo is good enough.

When it was all said and done, I only spent about $4 on this project, which was the cost of the spray paint from Ace. This saved us roughly $86. Winning!
No comments:
Post a Comment
I love to hear from you!