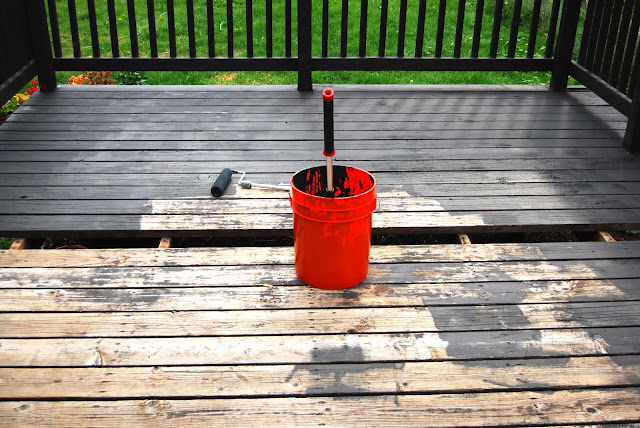
When Jeff finished his employment with Nordstrom in August, the first thing we did with our free weekends was re-stain our deck. We chose this job not because we wanted a fresh-looking deck, but because it was literally going to fall to pieces if we didn't fix it before another winter.
The owners before us chose to paint the deck boards black, and the paint started chipping off about a week after we moved into the house (can we say "house flip"?). I am not even sure if they used exterior paint for the project, but I am thinking not since the deck boards started cracking and rotting last winter.
We decided to try out Behr's DeckOver product from Home Depot to breathe new life into our cracking, chipping, warping, rotting deck. This product was perfect for us, as we needed something to fill chips and cracks, update the color, and protect the deck boards from harsh Spokane elements.
To start, we ripped up the rotted deck boards that could not be salvaged. We then stripped the peeling paint off the remaining boards using this product from Home Depot:
Make sure to read all the instructions on this product before you leave the store, as you may need to purchase a couple items (aka rubber gloves, ventilation mask, coarse brush) to make this product effective. This product worked like a charm at removing the paint that had not already chipped off. Next, we neutralized the stripping action by using this:
The additional items needed for the wood stripper can also be used for the wood cleaner.
After the wood was sufficiently cleaned, we applied a liberal coat (this stuff is goopy) of DeckOver with rollers, then let it dry for 24 hours.
Next, we used a brush to fill in some of the smaller cracks, which also made the bigger cracks appear smaller. After waiting another 24 hours for this to dry, we did a second thick coat with the rollers and called it good.
Note: we did not strip the railings and slats because they were in pretty decent shape, all things considered. We simply applied the DeckOver right on top of the well-preserved paint.
Finally, it was time to paint the new deck boards and screw them into newly reinforced joists. We used this method. The end product...
Pretty good...
When it was all said and done, making over the deck took us about 2 weeks of nap times, bed times, paint-drying times, and waiting-for-it-to-not-rain times. Because the DeckOver is goopy, be sure to buy more than you think you will need. We used just under 4 gallons for our entire deck. Here's a rundown of our total expenses for this project:
Deck Renovation
|
|
4 Gallons DeckOver
|
$139.92
|
Wood Stripper
|
$19.96
|
Wood Cleaner
|
$8.99
|
New Deck Boards
|
$24.98
|
Coarse Brush &
Handle
|
$8.99
|
Deck Screws
|
$9.37
|
2x4s to Reinforce
Joists
|
(can’t remember exact #) ~$10.00
|
Paint bucket,
brushes, etc.
|
~$15.00
|
Rubber Gloves
|
(already had) $0
|
Ventilation Mask
|
(already had) $0
|
TOTAL
|
$237.21
|


No comments:
Post a Comment
I love to hear from you!